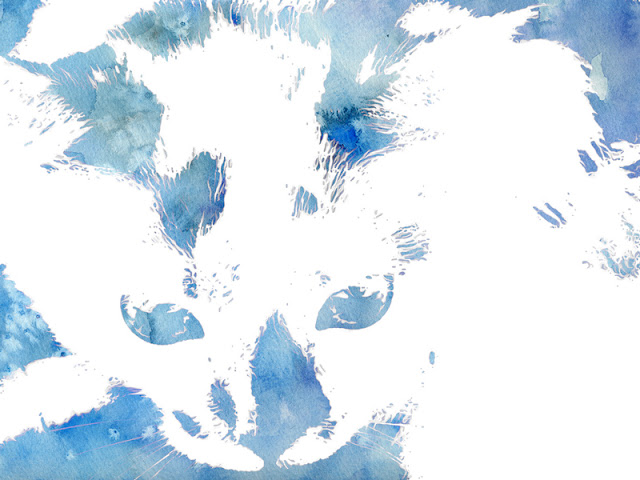
This arial photo of Boston I took is made more interesting with the infrared glow technique from photoshopessentials.com. I learned some ways to adjust black and white images from this tutorial, which will help me further down the road for sure. So while this tutorial may have been simple, it has been a very helpful lesson.

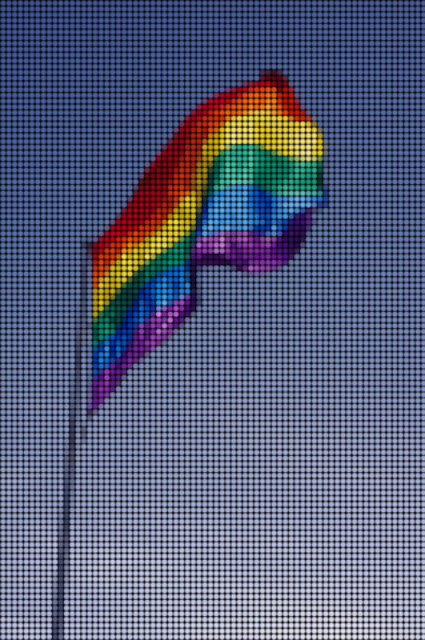
 Digital-Photography-School.com's lomo tutorial helps you create a lomo look with digital photography, and explains what a lomo photograph is. There is some issues in the tutorial with their images loading, but I was able to work it out with just the descriptions The end result is pretty neat, but not as subtle as their example.

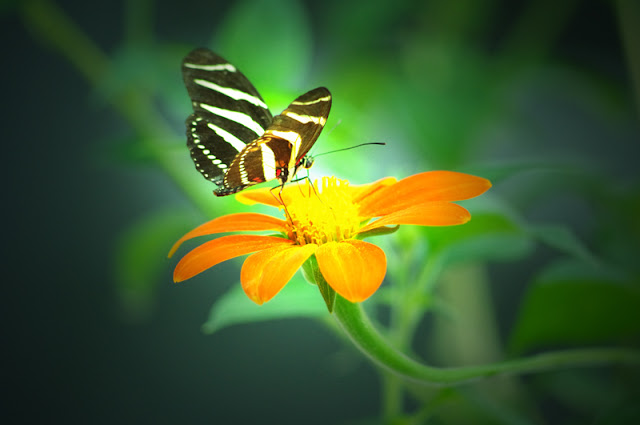
 Today's entry is a bit of a deviation from my Photoshop Journal's original intent. I'm taking a copywrite free photo instead of my own photo and modifying it for my Interaction & Screen Design class. Here is Photoshopessentials.com's the Tutorial on how to make this puzzle image. Heads up, I had to download the texture presets for Photoshop because my copy of CS6 didn't come with them preinstalled.

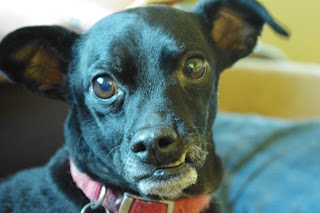
 This tattoo tutorial is an easy way to put some punk into someone's image. You can find the tutorial at worth1000.com.

 Today I decided to do my own foray into Photoshop without a tutorial to see if I could put to use some of the skills I learned. Browsing my Google+ profile I realized that I haven't really updated my cover photo, so I decided to use my skills for that. I found a helpful website, evaddesign.com, that went over the dimensions for the cover photo and included a handy Photoshop template to use. Here is what I did to turn the photo below into the photo above.
- Placed my T-Rex photo into the template and resized it so the skull was just the right size.
- Flipped my photo so the skull was facing the left instead of the right.
- I copied my photo into a new layer, selected the transparent space on both sides and filled it with content-aware. I filled it three times to create a more abstract pattern.
- I then traced the T-Rex bones out and copied that portion to a new layer and turned it off. I didn't do anything with the original layer, but I thought it a good idea to keep it unaltered in case I needed it later.
- On the complete layer I made two more additional copies so I had three layers with the same full image.
- On the bottom layer I used the Cutout filter.
- On the middle layer, I used the Halftone Patter filter in the circle pattern.
- On the top layer, I used the Poster Edges filter and set the layer blend mode to Overlay.
- On the bottom layer where I used the Cutout filter I selected the T-Rex and copied him to a new layer at the top of the layer palet.
- On this new Cutout T-Rex layer that has just the T-Rex, I used a Hue/Saturation adjustment layer to colorize the T-Rex. On this adjustment layer I held down Option when I selected the adjustment layer and this brought up a dialogue box that let me check "Use Previous Layer to Create Clipping Mask". This is important because I wanted the adjustment to only affect the layer I was working on and not all the layers below it.
- Then, I took the layer with my original T-Rex on it and moved it to the top of the layers palet. I gave it an Emboss and an Outer Glow style. For the Outer Glow I used a wide spread and set the blend to Dissolve. This gives it a particle effect which with the circle halftones made it look like the T-Rex was breaking through glass or something.
- Finally I set the T-Rex layer to Overlay in the layer blend mode.
And there you have it, my own tutorial... Kind of.